Connect with us
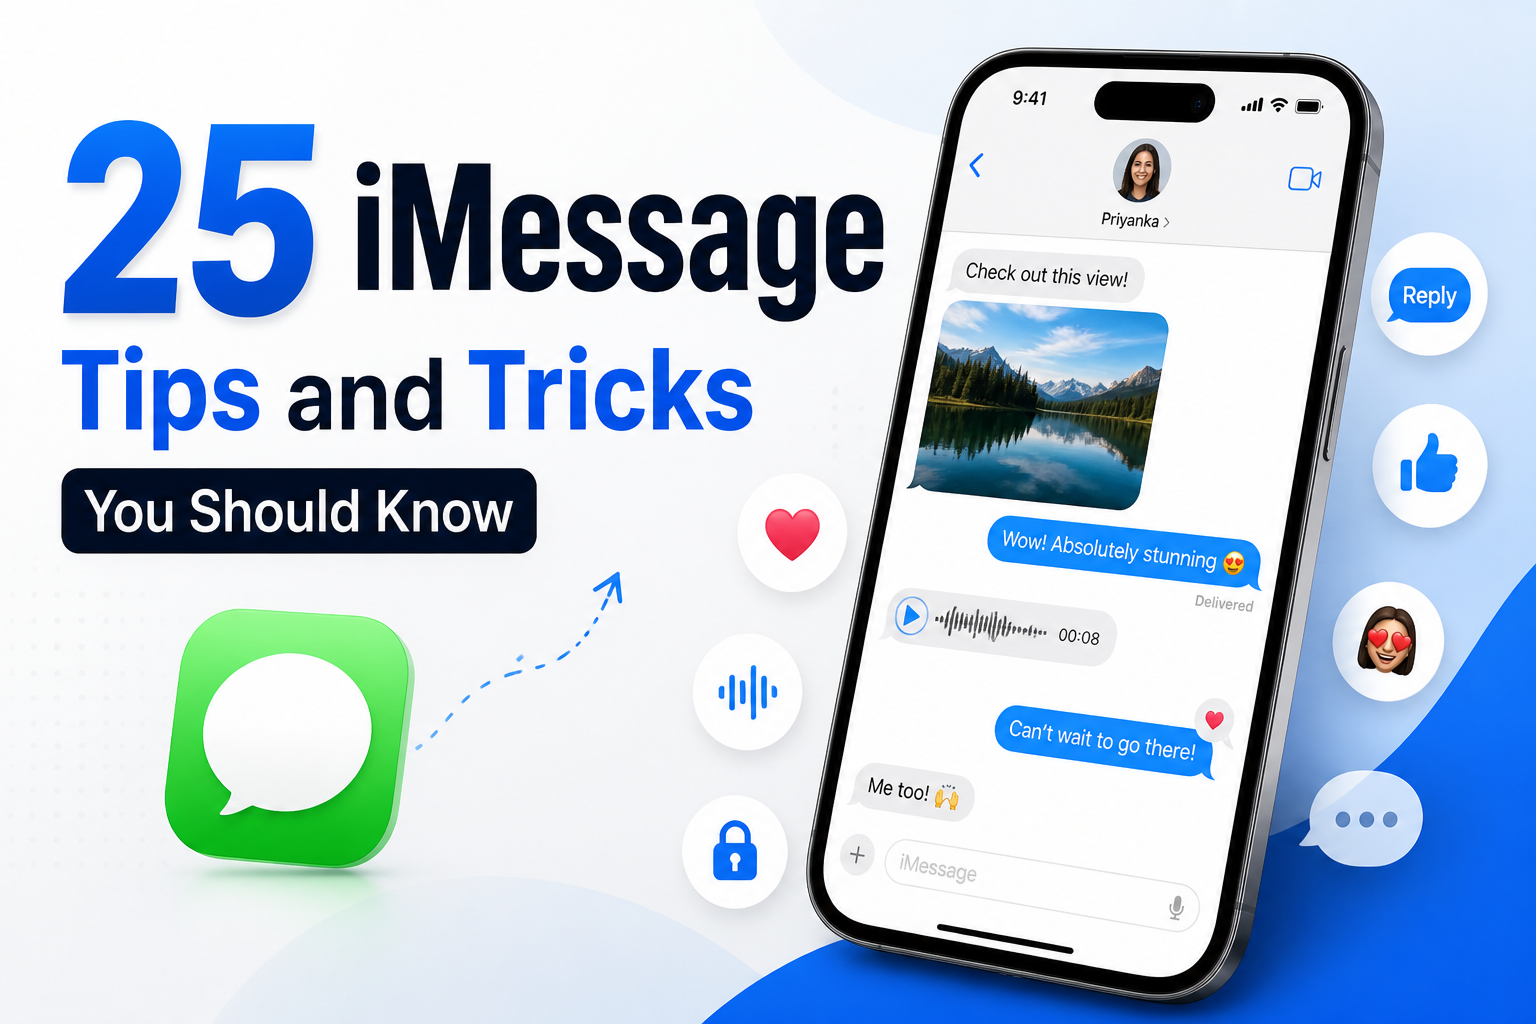
25 iMessage Tips and Tricks You Should Know
You probably use iMessage every single day. But if you are only sending plain text messages and the occasional photo — you are barely scratching the surface of what it can do.
iMessage is packed with features most users never discover. You can schedule messages to send later, edit a text you already sent, send self-destructing messages with Invisible Ink, react with any emoji, create custom stickers, and even check in with loved ones automatically when you arrive somewhere safely. And that is just the beginning.
This guide covers 25 iMessage tips and tricks — organized from core features every iPhone user should know to hidden capabilities buried so deep that even longtime Apple users have never seen them. By the end you will use iMessage completely differently than you do today.
What is iMessage and How is It Different From SMS
Before getting into the tips — here is one thing every iPhone user should understand clearly.
iMessage is Apple's messaging service that works over Wi-Fi or mobile data between Apple devices. When you message another iPhone, iPad, or Mac user it sends as an iMessage — shown with a blue bubble. When you message someone on Android or a non-Apple device it falls back to standard SMS — shown with a green bubble.
The difference matters because:
- Blue bubble messages support all iMessage features — effects, reactions, editing, scheduling, read receipts, and end-to-end encryption
- Green bubble messages are basic SMS — no effects, no editing, no encryption, sent through your mobile carrier
- iMessage is free over Wi-Fi — SMS may count against your carrier plan
- Green bubbles appear when the recipient does not have an Apple device or has iMessage switched off
- Now that you know the difference — here are 25 tips to get the most out of iMessage every day.
Core iMessage Tips Every User Should Know
Tip 1 — How to Send Message Effects
iMessage lets you send messages with animations that play the moment the recipient opens them. It is one of the most fun features on the platform — and one of the least used.
How to do it:
- Type your message in any iMessage conversation
- Press and hold the blue send button — do not just tap it
- A menu appears showing bubble effects — choose Slam, Loud, Gentle, or Invisible Ink
- Tap Screen at the top to choose a full-screen animation — balloons, confetti, fireworks, lasers, and more
- Tap the send button to deliver with the chosen effect
Invisible Ink is worth knowing specifically — the message appears blurred until the recipient swipes to reveal it. Perfect for surprises, game spoilers, or anything you want to reveal at the right moment.
Tip 2 — How to Edit and Unsend Messages
The ability to edit and unsend messages in iMessage has been one of the most requested features for years — and most users still do not know the exact rules around how it works.
To edit a sent message:
- Long press the message you want to change
- Tap Edit from the menu that appears
- Make your changes and tap the checkmark to save
- You can edit up to 5 times within 15 minutes of sending
- The recipient sees an Edited label under the message and can tap to view the full edit history
To unsend a message:
- Long press the message
- Tap Undo Send
- You have exactly 2 minutes after sending to remove it
- The recipient sees a note that a message was unsent — so act fast if they are online
- Both features work only in blue bubble iMessage conversations — not green bubble SMS.
Tip 3 — How to Pin Conversations
If you have important conversations you want to find instantly without scrolling through your entire message list, pinning keeps them locked at the top.
How to pin:
- In the main Messages list swipe right on any conversation
- Tap the yellow pin icon
- The conversation moves to the top with a large circular icon
- You can pin up to 9 conversations
- To unpin — long press any pinned conversation and tap Unpin.
Tip 4 — How to Use iMessage on Mac
iMessage on Mac lets you send and receive messages from your computer — ideal when your phone is not nearby or when you simply type faster on a keyboard.
How to set it up:
- On your Mac open the Messages app
- Sign in with your Apple ID — the same one used on your iPhone
- Go to Messages → Settings → iMessage
- Make sure both your phone number and Apple ID email are checked
- On your iPhone go to Settings → Messages → Text Message Forwarding
- Enable your Mac from the list
Once set up all your iMessage conversations sync across both devices in real time. You can also send and receive SMS messages from your Mac if Text Message Forwarding is enabled.
Tip 5 — How to Use iMessage Apps
iMessage has its own built-in app drawer with mini-apps that work directly inside your conversations — GIFs, stickers, Apple Cash, polls, and more — without leaving the Messages app.
How to access them:
- In any conversation tap the + button on the left side of the text field
- Browse the available options — Send Later, Check In, Apple Cash, Stickers, and more
- Tap More to see all installed iMessage apps and manage your favourites
- To add new apps tap the App Store icon inside the iMessage app drawer
Pro tip: Long press any app in the list and drag it up to the favourites section for one-tap access to the tools you use most.
Tip 6 — How to React to Messages With Any Emoji
Since iOS 17 you are no longer limited to six basic Tapback reactions in iMessage. You can now react to any message with any emoji in existence.
How to react:
- Long press the message you want to react to
- The reaction bar appears at the top of the screen
- Tap the + button to open the full emoji keyboard
- Select any emoji to use it as your reaction
- In group chats everyone can see exactly who sent which reaction
Tip 7 — How to Schedule Messages
Scheduling is one of the most practical iMessage tips available — send messages at exactly the right time without having to remember to do it manually.
How to schedule:
- In any iMessage conversation tap the + button
- Select Send Later
- Write your message
- Set the date and time — you can schedule up to 14 days in advance
- A dotted outline around the message in the thread confirms it is scheduled but not yet sent
- Tap the message anytime before it sends to edit or cancel it
This feature works only in iMessage blue bubble conversations — not SMS.
Tip 8 — How to Use Inline Replies
In busy group chats replying to a specific message rather than the general conversation keeps everything organized and easy to follow.
How to reply inline:
- Swipe right on the specific message you want to respond to
- Your reply appears directly below that message with a quoted preview
- Everyone in the group can see exactly which message you are responding to
Tip 9 — How to Search Messages
Finding an old message, link, or photo in a long conversation does not require endless scrolling through months of chat history.
How to search:
- Pull down on the main Messages list to reveal the search bar
- Type a contact name, keyword, or specific phrase
- Results show matching messages, contacts, links, and photos
- Use the filter tabs — People, Photos, Links, Locations — to narrow results quickly
Tip 10 — How to Share Your Location
You can share your location directly inside any iMessage conversation without opening Maps or switching to another app.
How to share:
- Select Location
- Choose Share My Location for an ongoing live share
- Or choose Send My Current Location for a one-time pin
- For live sharing set a duration — one hour, until end of day, or indefinitely
Hidden iMessage Features Most Users Never Find
Tip 11 — Send and Receive Audio Messages
Instead of typing a long message, record and send a voice note directly inside any iMessage conversation — quick, personal, and faster than typing.
How to send an audio message:
- In any conversation press and hold the microphone icon to the right of the text field
- Release to stop recording and preview your message
- Tap the send button to deliver it
- To pause mid-recording tap stop, then tap + to continue before sending
Important: Audio messages auto-delete after 2 minutes by default. To keep them permanently go to Settings → Messages → Expire and set it to Never.
Tip 12 — Use Invisible Ink for Sensitive Messages
Invisible Ink blurs your message until the recipient swipes to reveal it — then it blurs again after viewing. Ideal for surprises, spoilers, or anything you want to reveal on the recipient's terms.
How to use it:
- Type your message in any iMessage conversation
- Press and hold the blue send button
- Select Invisible Ink from the bubble effects menu
- Send as normal — the recipient swipes the blur to read it
Tip 13 — Mark Messages as Unread
Read a message but not ready to reply yet? Mark it as unread so it stays flagged and visible as a reminder in your messages list.
How to mark as unread:
- In the main Messages list swipe right on any conversation
- Tap the blue dot icon
- The conversation shows an unread indicator until you open it again
Tip 14 — Forward Individual Messages
You do not need to screenshot and crop a message to share it elsewhere. Forward individual messages directly to another conversation in seconds.
How to forward:
- Long press the message you want to forward
- Tap More from the menu
- Select the specific messages you want — a blue checkmark appears on each
- Tap the forward arrow at the bottom right of the screen
- Select the conversation you want to send it to
- Tip 15 — Use Digital Touch
Digital Touch lets you send handwritten messages, sketches, heartbeats, and kisses — a feature buried so deep inside iMessage that most users have genuinely never seen it.
How to access it:
- In any conversation tap the + button
- Scroll through the options to find Digital Touch
- Draw, write, or tap to create your message
- Send a heartbeat by pressing two fingers on the screen
- Send a fireball by pressing and holding one finger
Tip 16 — Create Custom Stickers From Your Photos
iOS 17 and later lets you turn any photo — including animated Live Photos — into a custom sticker you can use in any iMessage conversation.
How to create a sticker:
- Open Photos and find the image you want to use
- Press and hold the main subject in the photo — the background lifts away cleanly
- Tap Add Sticker from the menu that appears
- The sticker saves to your sticker collection automatically
- In any iMessage conversation tap +, select Stickers, and use your new custom sticker
Tip 17 — Check In Safety Feature
Check In automatically notifies a trusted contact when you arrive at your destination safely. If something goes wrong along the way it sends them your location, battery level, and signal strength automatically.
How to use Check In:
- In any conversation tap the + button
- Select Check In
- Set your destination or choose a time limit for the check in
- Your chosen contact is notified automatically when you arrive safely
- If you do not arrive on time they receive your location details and last known position automatically
Tip 18 — Send Money With Apple Cash
You can send and receive money directly inside iMessage using Apple Cash — no need to open Venmo, PayPal, or any separate payment app.
How to send money:
- In any conversation tap the + button
- Select Apple Cash
- Enter the amount you want to send
- Tap Pay to send or Request to ask for money
- Confirm the payment with Face ID or Touch ID
- Apple Cash works only between iPhone users who have Apple Cash set up in their Wallet app.
Tip 19 — Recover Recently Deleted Messages
Accidentally deleted an important conversation? iMessage keeps recently deleted messages for up to 30 days before permanently removing them — giving you a recovery window.
How to recover deleted messages:
- In the main Messages list tap Edit in the top left corner
- Select Show Recently Deleted
- Select the conversations you want to recover — a checkmark appears on each
- Tap Recover to restore them to your main message list
Tip 20 — Add Text Formatting to Your Messages
iMessage now supports text formatting — bold, italic, underline, and strikethrough — letting you add emphasis and structure to your messages.
How to format text:
- Type your message in any iMessage conversation
- Double tap to select the word or phrase you want to format
- Tap the A icon that appears above the keyboard
- Choose Bold, Italic, Underline, or Strikethrough
- On iOS 18 and later you can also apply animated text effects from the same menu
- iMessage Privacy Settings You Should Configure Right Now
Tip 21 — Turn Off Read Receipts
Read receipts let the sender know the exact moment you opened their message. Turning them off gives you more privacy and removes the unspoken pressure to reply immediately.
To turn off globally:
- Go to Settings → Messages
- Toggle off Send Read Receipts
- To turn off for one specific contact only:
- Open their conversation
- Tap their name at the top
- Toggle Send Read Receipts off for that person only
Tip 22 — Filter Messages From Unknown Senders
Keep your main inbox clean by automatically moving messages from people not in your contacts to a separate filtered folder.
How to enable:
- Go to Settings → Messages
- Toggle on Filter Unknown Senders
- Messages from unknown numbers move to a separate list automatically
- Links in those messages are disabled until you add the sender as a contact
Tip 23 — Block Contacts on iMessage
Blocking a contact stops them from sending you messages, calling you, or reaching you on FaceTime entirely.
How to block:
- Open the conversation with the contact you want to block
- Tap their name or number at the top of the conversation
- Scroll down and tap Block this Caller
- Confirm the block when prompted
The blocked contact receives no notification that they have been blocked — their messages simply never deliver.
Tip 24 — Control Your Name and Photo in iMessage
iMessage lets you choose what name and photo appear in conversations — and control exactly who can see this information.
How to configure:
- Go to Settings → Messages → Share Name and Photo
- Set sharing to Contacts Only — the safest option
- Avoid Always On — this shares your name and photo with anyone who messages you, including strangers
Tip 25 — Enable Two-Factor Authentication for Your Apple ID
Your entire iMessage history and contact list is tied to your Apple ID. Enabling two-factor authentication is the single most important step you can take to protect your account from unauthorized access.
How to enable:
- Go to Settings → your name → Sign-In and Security
- Tap Two-Factor Authentication
- Follow the setup steps to complete activation
- Any new sign-in to your Apple ID will require approval from your iPhone or another trusted device
- For official Apple ID security guidance visit Apple ID security settings.
Common iMessage Problems and How to Fix Them
Why is iMessage Not Working
If iMessage suddenly stops working on your iPhone work through these fixes in order:
- Check Apple's server status — Visit Apple System Status to confirm iMessage servers are running normally before troubleshooting your device
- Toggle iMessage off and on — Go to Settings → Messages, switch iMessage off, wait 10 seconds, and switch it back on
- Check your internet connection — iMessage requires Wi-Fi or mobile data. Try switching between the two and test again
- Restart your iPhone — A full restart resolves most temporary iMessage glitches quickly
- Sign out and back into Apple ID — Go to Settings → your name → Sign Out, then sign back in with your Apple ID
- Check date and time settings — Go to Settings → General → Date and Time and enable Set Automatically — incorrect date and time is a surprisingly common cause of iMessage failures
How to Fix iMessage Activation Error
The iMessage activation error most commonly appears when setting up a new iPhone or after switching carriers.
Steps to fix:
- Make sure your iPhone has an active SIM card correctly inserted
- Confirm your carrier plan supports iMessage — contact your carrier directly if unsure
- Go to Settings → Messages and toggle iMessage off and back on
- Go to Settings → FaceTime and toggle FaceTime off and back on
- If the problem continues reset your network settings — Settings → General → Transfer or Reset iPhone → Reset → Reset Network Settings
- Contact Apple Support if none of the above resolves the issue
How to Enable iMessage
If iMessage is not active on your iPhone here is how to switch it on:
Go to Settings → Messages
Toggle iMessage to the green on position
Make sure you are connected to Wi-Fi or mobile data
Confirm your Apple ID is signed in go to Settings → Messages → Send and Receive
Check that both your phone number and Apple ID email address are listed and checked
Allow up to 24 hours for activation on a brand new device — most activate within minutes
Why Are My Messages Green Instead of Blue
Green messages mean your iPhone is sending SMS — not iMessage. This happens when:
The recipient does not have an Apple device
The recipient has iMessage turned off on their phone
Your own iMessage is not activated or has encountered an error
You or the recipient has no internet connection your iPhone automatically falls back to SMS
Green bubble messages do not support any iMessage features — no effects, no reactions, no editing, no unsending. They are sent through your mobile carrier and may count against your SMS allowance depending on your plan.
Conclusion
iMessage is one of the most capable messaging platforms on any device and the gap between what most users know and what it can actually do is significant. From scheduling messages and creating custom stickers to safety features, privacy controls, and full text formatting — the 25 iMessage tips covered in this guide represent tools that are already sitting on your phone right now, just waiting to be used.
Start with the tips that matter most to how you use Messages today. Turn off read receipts if privacy matters to you. Set up Check In for someone you care about. Schedule your next birthday message. Edit that typo before anyone notices. Each tip adds a small but genuine improvement to how you communicate and together they make iMessage a significantly more powerful tool than most users ever realize.
For teams looking to complement personal messaging with professional secure communication tools, exploring best apps for productivity alongside iMessage gives a complete picture of modern communication options across both personal and business contexts.
Frequently Asked Questions (FAQs)
Q1. How do I know if someone blocked me on iMessage?
There is no direct notification when someone blocks you Apple intentionally keeps this private. The clearest signs are that your messages show as Delivered for a while and then stop updating, you never see a Read receipt even from someone who normally has them enabled, calls go straight to voicemail every time, and FaceTime calls fail to connect. None of these signs individually confirm a block with certainty but together they are a strong indicator. The only way to know for certain is to contact the person through a completely different channel.
Q2. How do I unsend a message on iMessage?
Long press the message you want to remove and tap Undo Send from the menu. You have exactly 2 minutes from the moment of sending to unsend a message after that the option disappears permanently. If the recipient has already read the message before you unsend it they will have seen its content they will just see a notification that a message was unsent. This feature works only in blue bubble iMessage conversations and requires both sender and recipient to be on iOS 16 or later.
Q3. Why is iMessage not working on my iPhone?
The most common causes are a weak or missing internet connection, iMessage servers being temporarily down, incorrect date and time settings on your device, or a problem with your Apple ID sign-in. Start by checking your Wi-Fi or mobile data, then toggle iMessage off and on in Settings. If the problem continues restart your iPhone and sign out and back into your Apple ID. Check Apple's system status page before spending time troubleshooting your device the issue may be on Apple's end. For persistent activation errors contact your carrier to confirm iMessage is supported on your current plan.
Q4. What is the difference between iMessage and SMS?
iMessage is Apple's encrypted messaging service that works over Wi-Fi or mobile data between Apple devices shown with blue bubbles. SMS is the standard text messaging system that routes through your mobile carrier network shown with green bubbles. iMessage supports a wide range of features that SMS does not including read receipts, message effects, reactions, editing, unsending, scheduling, inline replies, and end-to-end encryption. SMS is a basic carrier text service with none of these capabilities. When you message someone without an Apple device your iPhone automatically falls back to SMS.
Q5. How do I enable iMessage on a new iPhone?
Go to Settings, tap Messages, and toggle iMessage to the on position. Make sure you are connected to Wi-Fi or mobile data and that your Apple ID is signed in. Go to Send and Receive within the iMessage settings and confirm that both your phone number and Apple ID email address are listed and checked this ensures people can reach you on both. Activation usually completes within minutes on a new device but can occasionally take up to 24 hours. If you see an activation error toggle iMessage off and on, restart your iPhone, and try again.